Reading time 3 mins
Introduction
Creating a new notice is quick and simple. Consider if a notice needs to be confirmed by the user and therefore has a due date for your users to read it. Choose to link to a document in your document module in Radar Healthcare and select the users it needs to be sent to.
Creating a New Notice
- To create a new notice, from the left-hand menu, select Notice admin.
- Here you will see a list of all previous notices.
- To create a new notice, select ‘Create new notice’.
- Type the Subject and body of the notice that you would like to send to your users. A preview of the notice as it will appear to your users is shown below the text box.
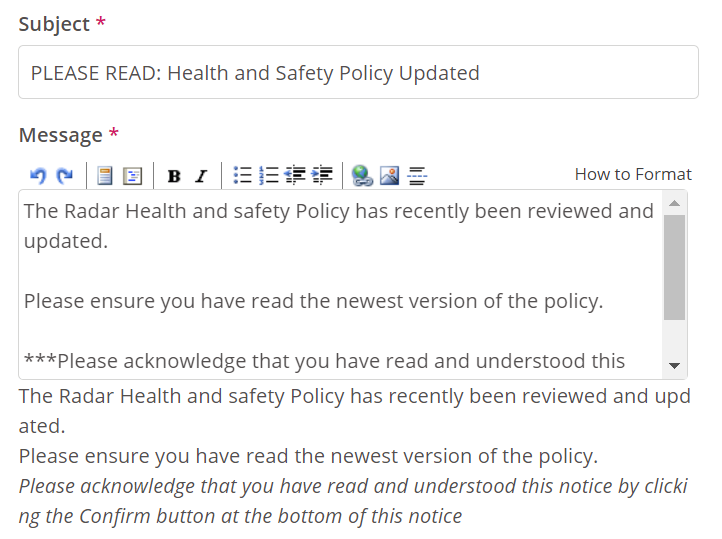
- Next select the priority for this notice. Setting priorities for tasks allows users to better manage their outstanding task list on their user dashboard.
- Select whether you would like to send an email notification to your users as well as the in-system Radar Healthcare notification.
- Choose whether you would like recipients to acknowledge receipt of the notice or not. If recipients must respond, select a date a deadline by which they must respond.
- You can also give your notice a Tag. This allows you to better filter on notices sent, e.g., should you wish to report on only notices with the tag Policy Updates or CAS alerts. To add a tag, simply select from the list of existing tags or type a new tag label.
- You can add attachments to your notice, should you wish to do so. To add a document that is saved within the Documents section of Radar Healthcare, use the Link from document management option. Start typing the name of a document saved in your documents section of Radar Healthcare and select from the list.
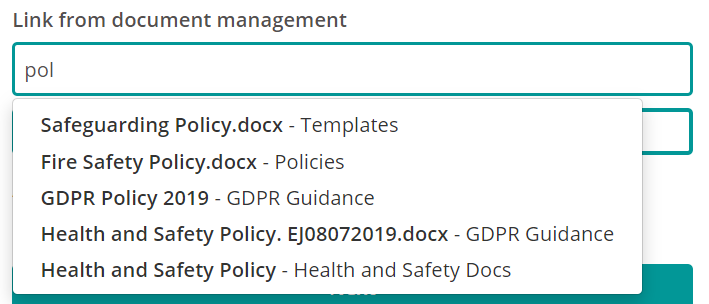
- Alternatively, you can attach them directly from your PC by selecting Add file.
- Once all the notice details have been entered, selecting ‘Next’.
- Now select who you would like the notice to be sent to. Below a preview of your notice, you will see a list of all the users in your system.
- You can choose to send it to all users, by selecting the topmost check box on the right-hand side of the user list.

- You can also search for and filter on your users, using the filter icon on the top right of the recipient list and select individuals by name.
- For example, you may wish to filter your users by role(s) (you can select multiple roles should you need to do so).
- Once you have selected your users, select ‘Next’ at the top or bottom of the screen.
- Finally, you will be shown a preview of your message for you to review along with your final recipient list.

- You can return to change any of the details for your notice at any time by using either the Previous buttons at the top or bottom of the screen, or by using the progress bar.
- If you are happy with the notice, click Send.
FAQs
-
How do I add a link to a notice?
Start by typing out your message. Highlight the text you wish to add a link to and select the ‘insert hyperlink’ icon (this resembles a globe).
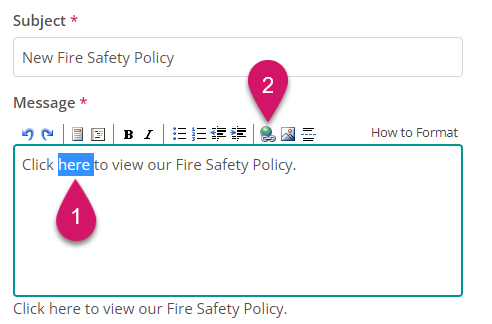
In the pop-up box enter the link URL and select OK.
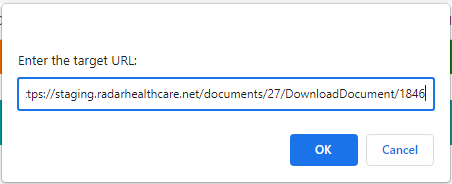
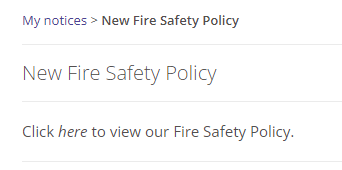
The link will now appear in your preview. Please note it may not highlight the link to your users in the message when they receive it. We recommend making the link text bold or italic to draw their attention.
