

Reading time: 2 mins
Introduction
- Having a copy of a dashboard is a great way to make changes without it affecting your current dashboard being used by your organisation. It provides some version control and this guide explains how to use this copy to update the live dashboard easily.
- Use this method to update a dashboard without reassigning permissions. Simply edit the dashboard file and overwrite the existing live dashboard—preserving all current access settings.
- This is ideal when you are working on a copy of a dashboard to avoid any changes going Live before you are ready.
Steps
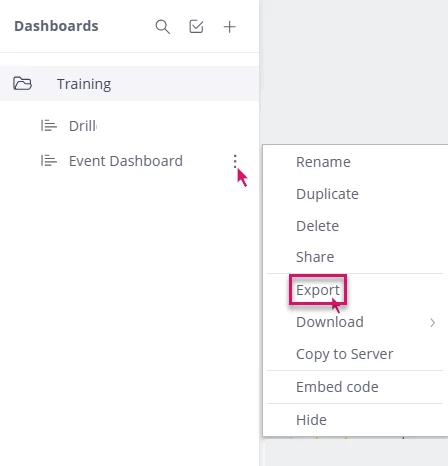
1. Export the dashboard
- Find the copy of the dashboard you intend to use as the latest version
- Select the 3-dots and select export it to download the .dash file
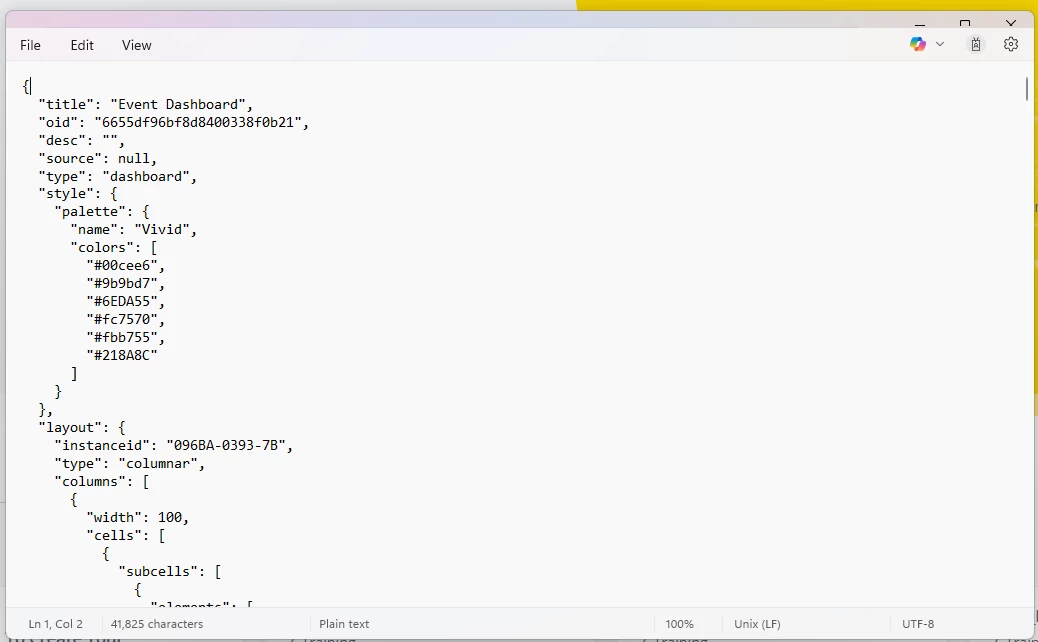
2. Open the .dash file
- Find the exported file on your device
- Open it in Visual Studio Code or Notepad
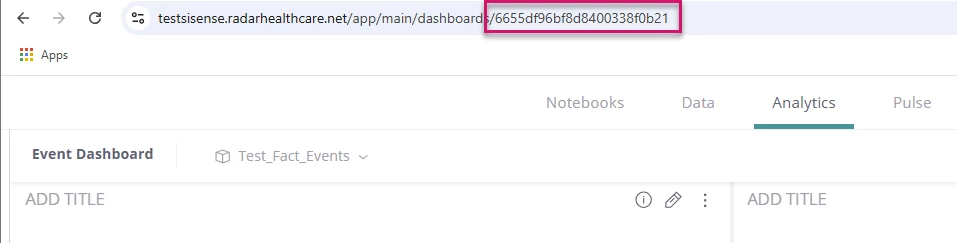
3. Identify the Staging OID
- Find the dashboard you wish to update with your new version.
- Copy the dashboard OID—located in the URL after the final backslash
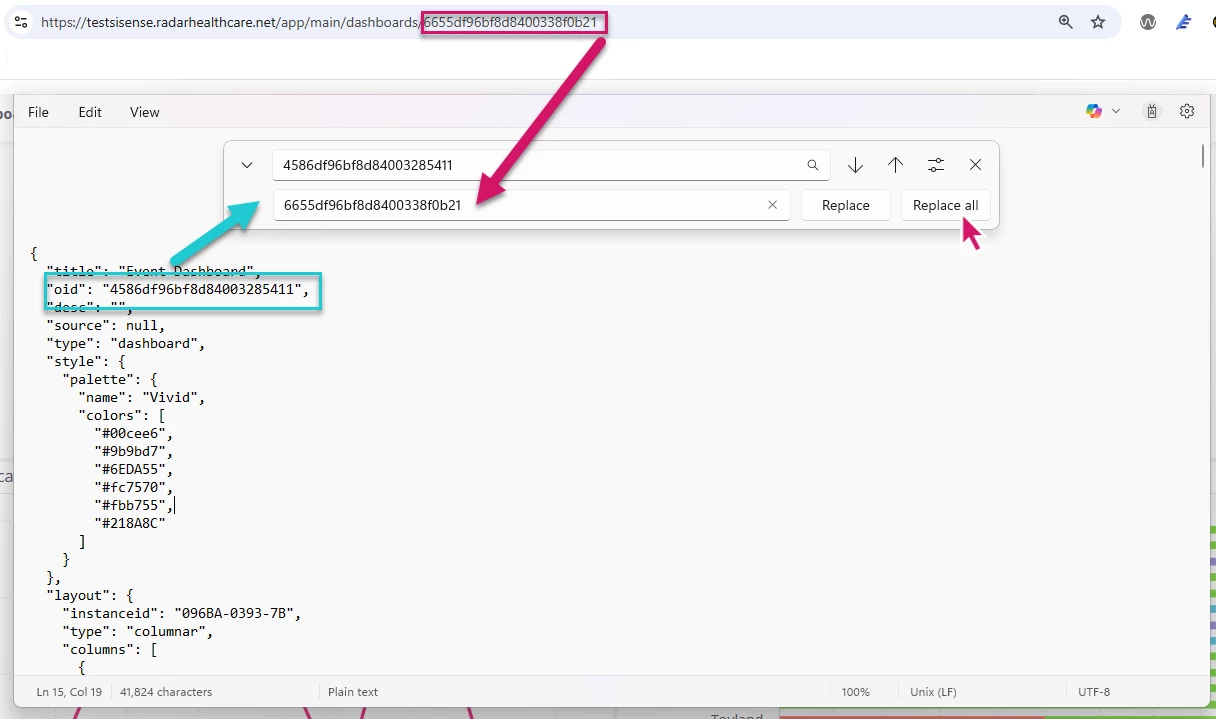
4. Replace the OID in the .dash file
- In your text editor, use Find and Replace
- Find all instances of the new dashboard OID
- Replace them with the original dashboard’s OID
- Select Replace All to update every reference
- Save your .dash file
5. Import and overwrite in the live environment
- Go to Import Dashboard
- Select your edited file
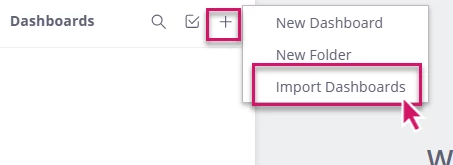
- The system will recognise the dashboard already exists and when prompted, choose Overwrite to replace the existing dashboard
- This ensures all visual and filter updates are applied, while keeping permissions intact

Tips
- After overwriting consider publishing your changes.
- Ideal for making copies of dashboards so you can make changes without it affecting dashboards currently being used
- Provides some version control for your dashboards
FAQs
Do I need to redo permissions?
- No—the overwrite process preserves existing access settings.