

Reading time 10 mins
Please note - this user guide is in reference to the Enhanced Audit functionality.
Introduction
Create and update your audits anytime using Audit Builder in the Administration area. Use Sections to break up your audit into key areas. Group together questions and capture the right information in the right format. Save and preview as you go before publishing your changes.
Getting Started
- Navigate to the Administration panel selecting Audit Builder under the Enhanced Audits category.
- Here are your existing audit templates. Use the filter icon to search for specific templates and select the name to open the audit builder. For a new audit template, select Create new audit.
Please ensure you have an existing Audit Scoring Type in place before starting your audit build. Please see our user guide for more details.
The Template Page
- We recommend starting on the Template page. There are three key areas:
- Audit template name - what is the name of your audit template? This is visible throughout the system where the audit is in use.
- Tags - categorise your audits using a tag(s). Enabling efficient filtering and grouping on your reporting. Tags show on the drop-down list. To create new tags please do so in the Tag Management area of the admin panel.
- Audit Type - this is the scoring range which applies to the audit. Select from your existing Audit Scoring type.
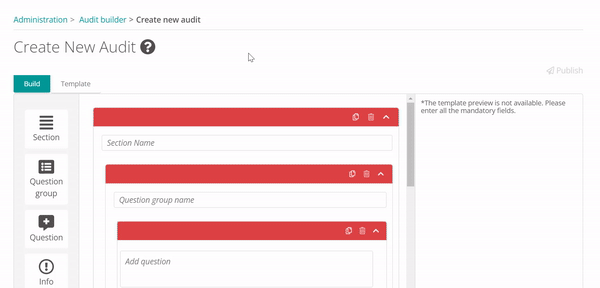
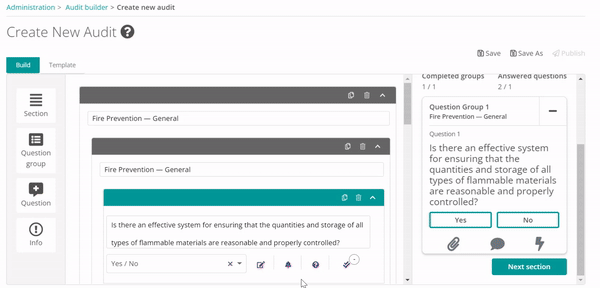
The Build Page
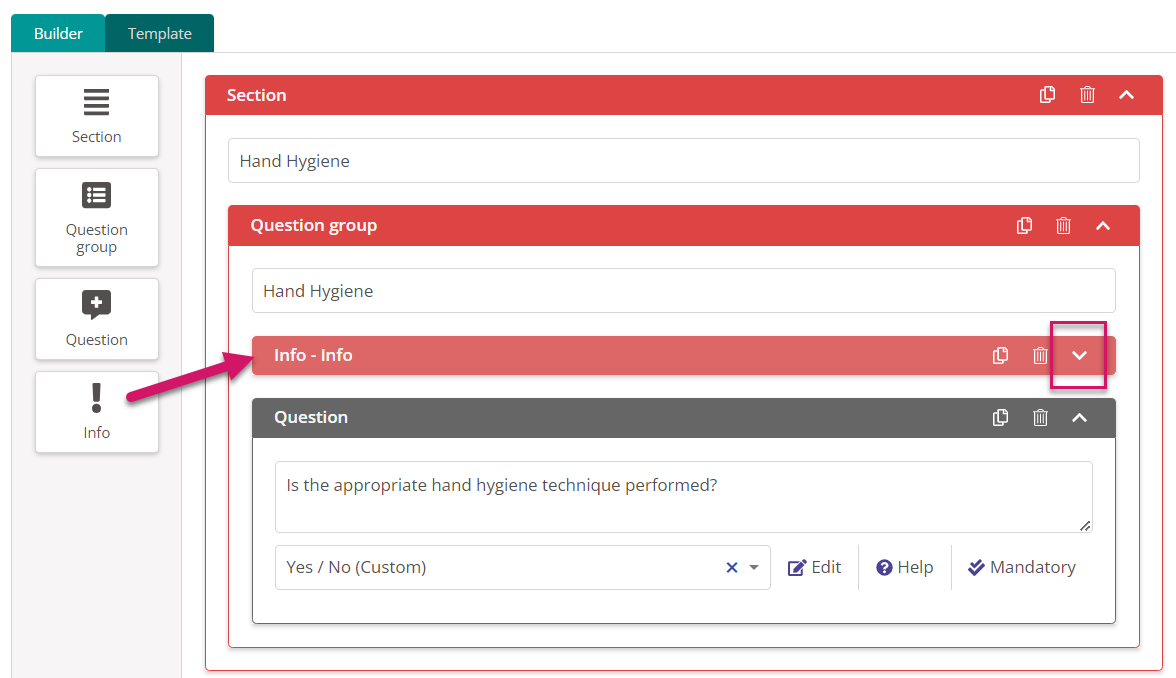
- An audit has 4 elements: Sections, Question Groups, Questions, and Info boxes.
- Drag and drop the different elements to build your audit. We will look at each of these elements below.
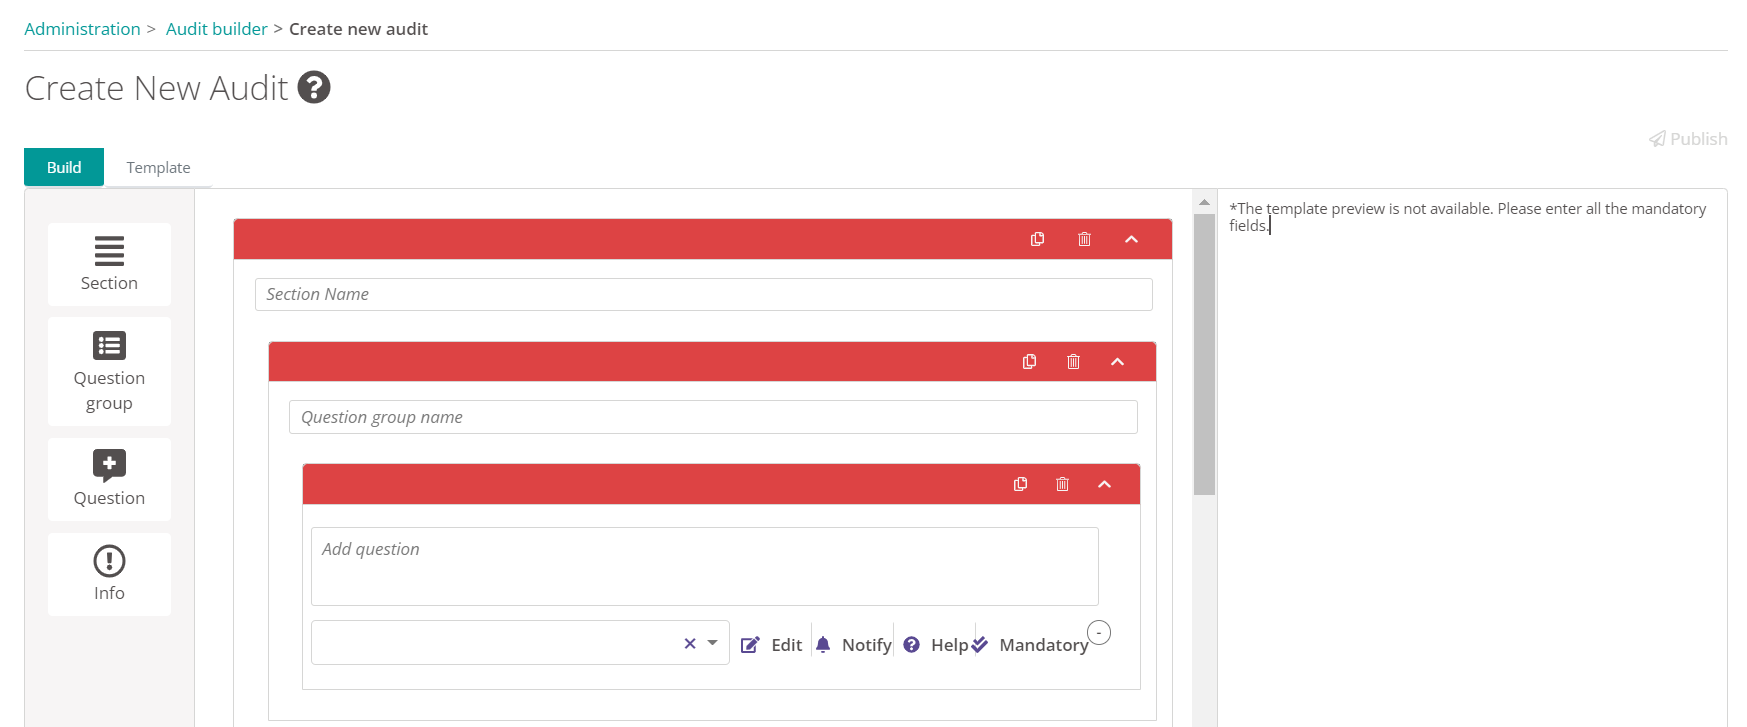
Sections
- Sections enable an audit to split into individual elements. Each section will display as separate elements in the audit's workflow.
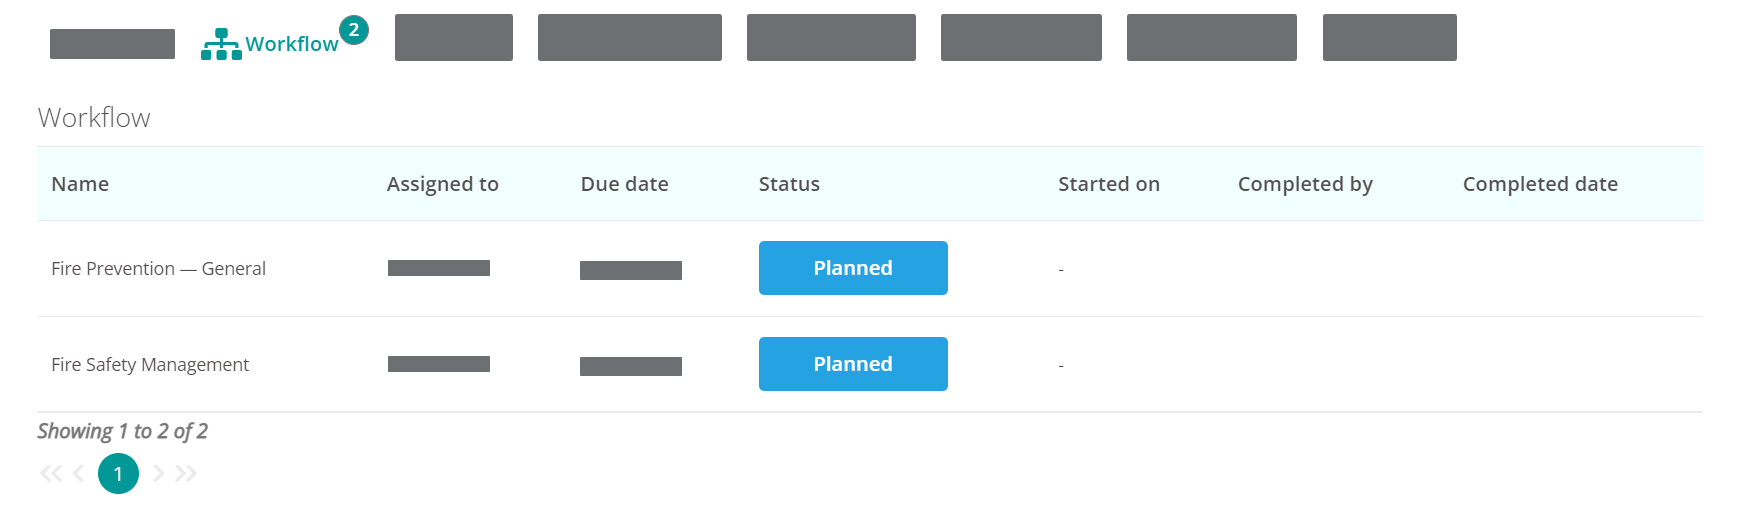
- You can assign sections to different users to help share the responsibility of an audit.
- Each Section will receive its own score at the end of the audit. You will be able to report on sections of improvement or excellence across your audits.
Question Groups
- Question groups allow you to break up your audit questions into manageable chunks.
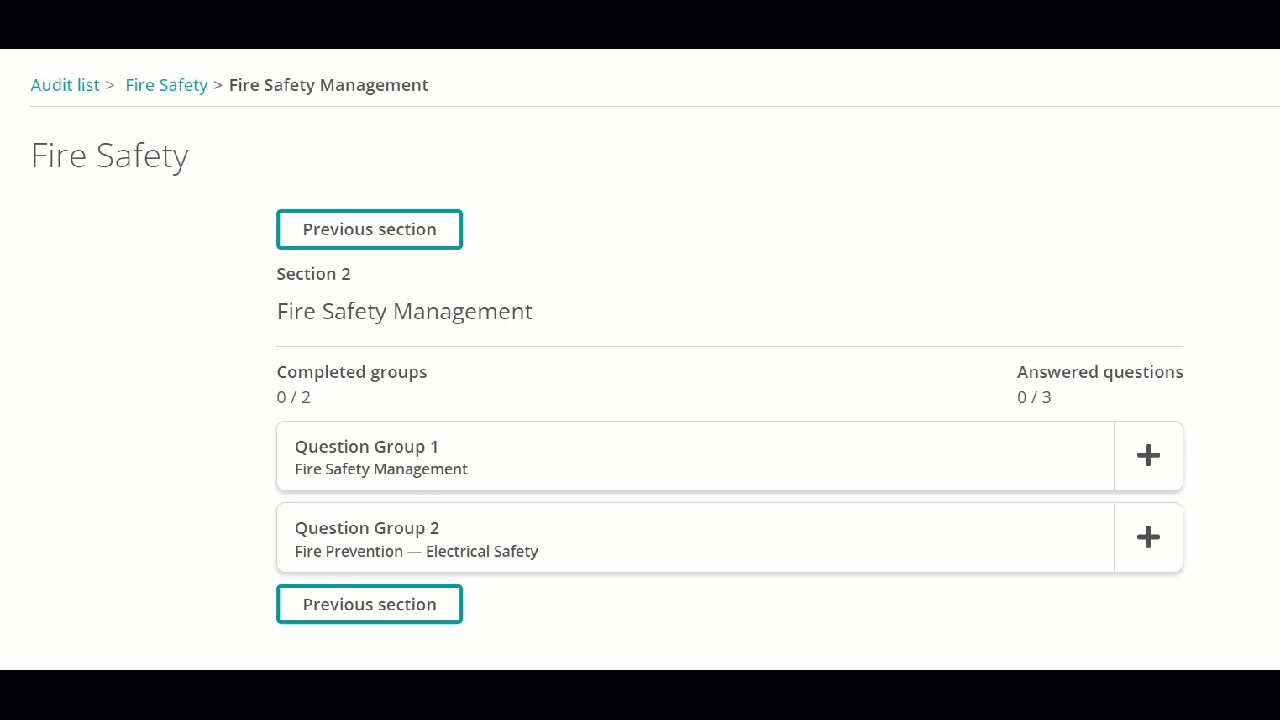
- Minimised and expanded these groups of questions when completing the audit.
Questions
- These are the key questions your users will be answering as part of the audit. Type your question into the main text box.
- Each question must also have a response type. This is how you'd like the users to answer the question. Select your preferred option from the drop-down list of options. Each response type name reflects the responses within.
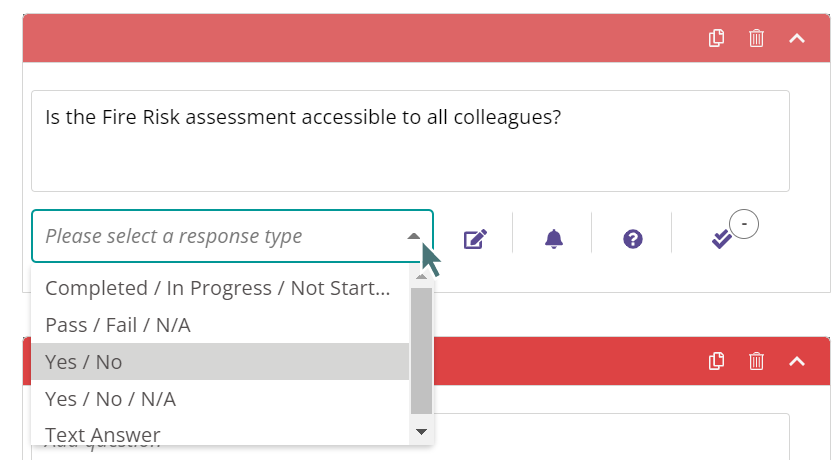
Response Types
- Response types are the different ways you would like the user to be able to answer a question.
- You can customise a response type to change the settings behind it. Select the edit icon next to the response type option for the question. This will bring up a panel named Manage Response Types.
- Toggle the option labelled Is this question scored? to decide if this question contributes to the score of the audit or not.
- Here you can choose which of the options is a:
- Pass (the 'correct' answer receiving a mark of 100%).
- Fail (the 'incorrect' answer receiving a mark of 0%)
- NA (the 'not applicable' answer which discounts the question out of the score).
- Select Add another response to increase the number of response options.
Mandatory Options
- For each question, you may choose to make information mandatory. This can include.
- Comment - here the user can give a written note to go with their response.
- Attachment - would you like the user to upload documentation as part of their audit?
- Action Plan - from here a user can create a new Action Plan from the question.
- Please note the user can do the above actions as standard and are optional by default. If you want to make them mandatory, please select the Mandatory icon on the question and tick the option.
- You may wish to make an option mandatory based on the answer given. For example, if the user answers NO to a question requests a comment to explain why. Or ensure an action plan is created to address the potential gap in service.
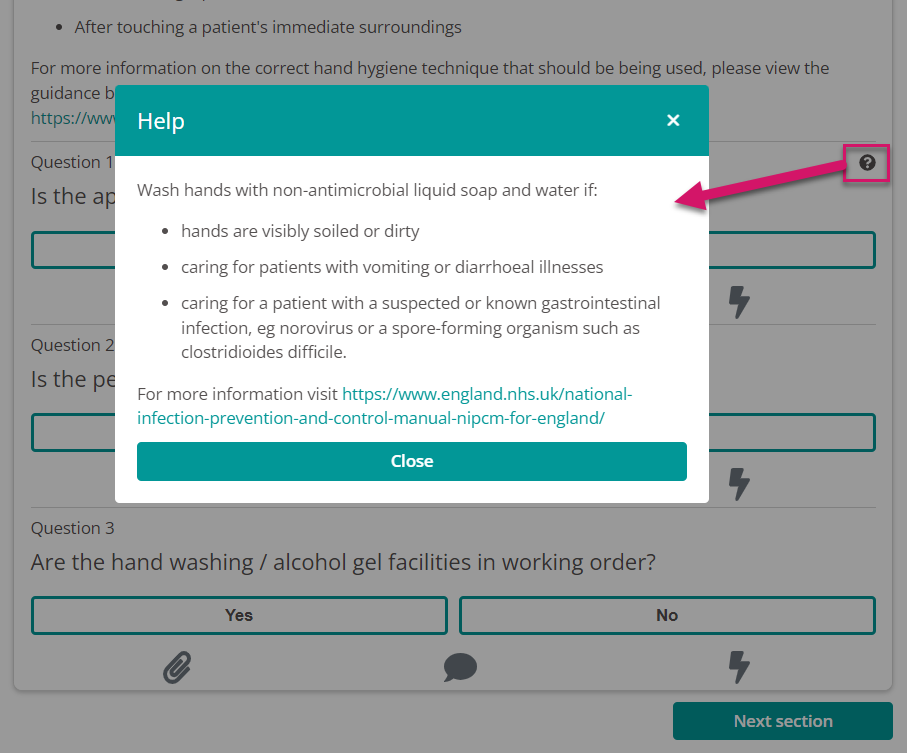
Question Help
- Add guidance or support for your auditors using question help. This is optional help that the auditor can choose to view against the individual question. For guidance to appear in the audit (mandatory to read) please use an Info option (see below).
- When viewing your question select the help option.
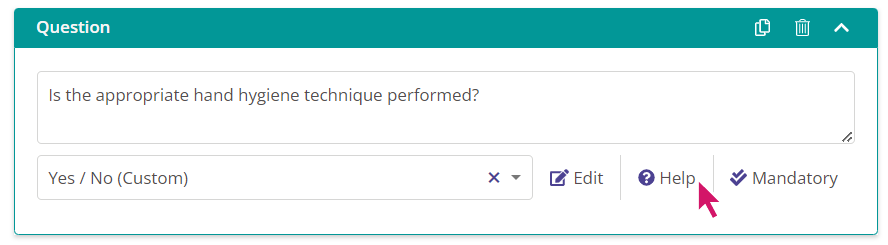
- The help editor will appear on the side of your screen. Enter the help text you wish to appear. Formatting options include:
- Bold, Italic, Underline, and Strikethrough
- Headers
- Text colours
- Bullet points
- External links
- Images
- Quote
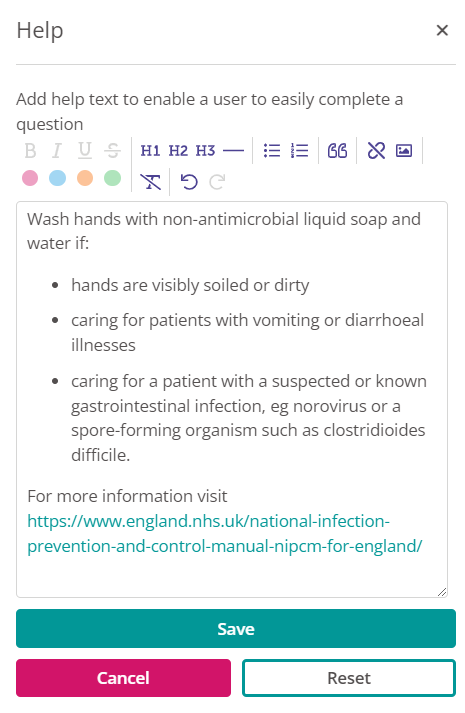
- When viewed by the auditor, the help text will appear in a pop-up box on screen.
Info option
-
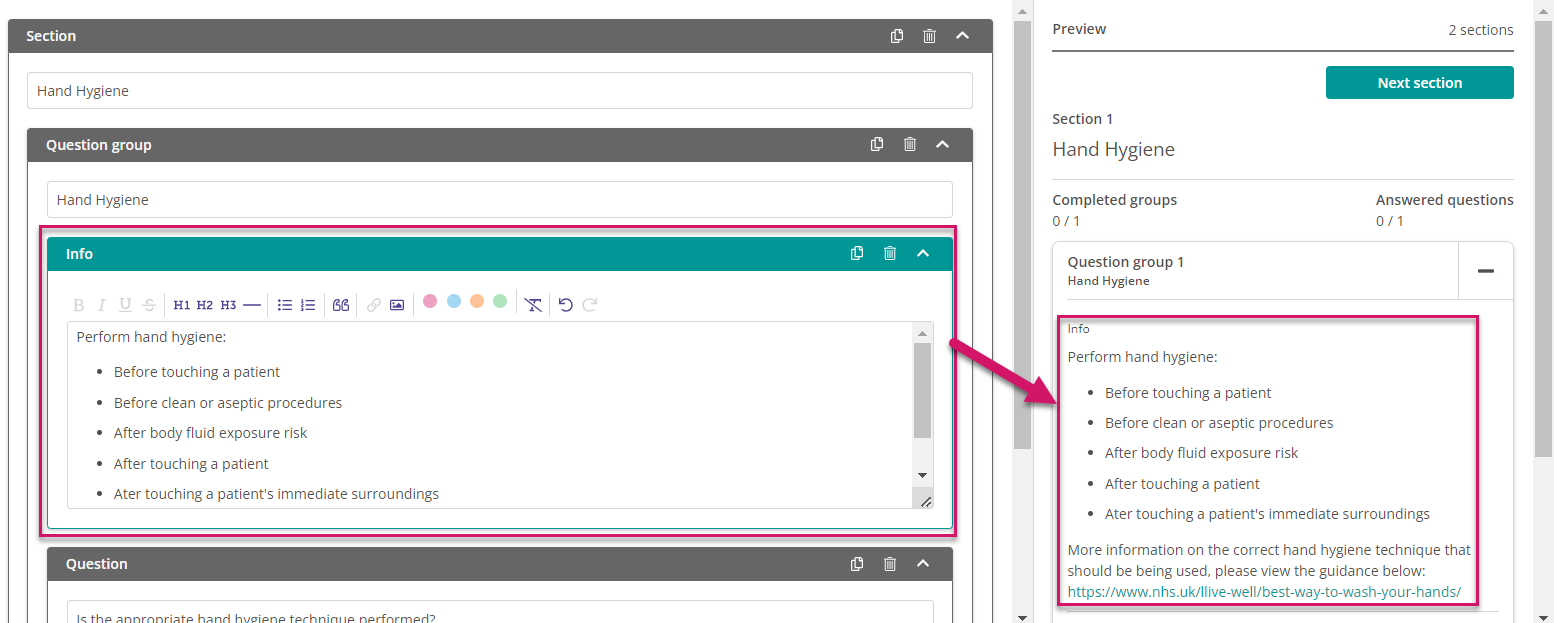
The Info element allows you to add additional detail into an audit alongside the audit questions. Formatting options include:
- Bold, Italic, Underline, and Strikethrough
- Headers
- Text colours
- Bullet points
- External links
- Images
- Quote
-
Drag an Info element into your canvas to a suitable place in the audit. Use the arrow to open editor.
-
Anything added as Info in an audit will be clearly visible to the auditor when completing an audit.
Preview and Publishing
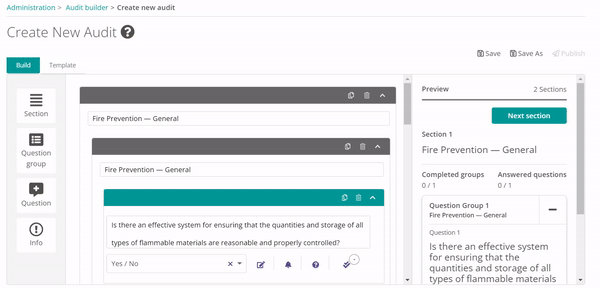
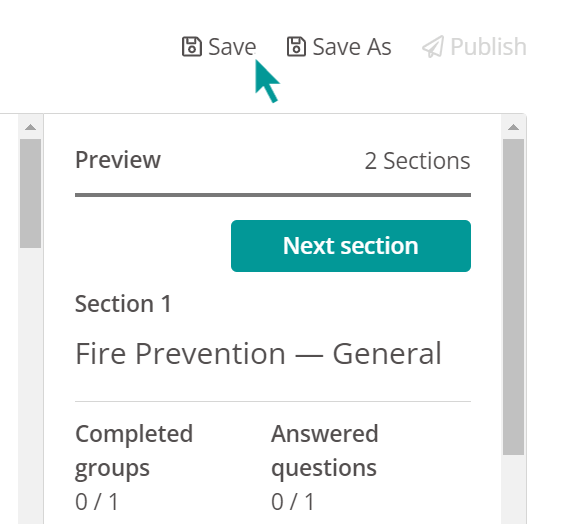
- When building the audit, you will see a preview on the right-hand panel. This will update as you build the audit.
- Interact with the preview to evaluate the audit from the perspective of your users.
- Select the Save icon as you build the audit. Once you wish to complete the build and start using the audit select Publish.
Updating an Audit Template
- If you are updating a pre-existing audit template, you can publish the update to any unstarted or scheduled audits that have already been set up.
- First, go into the builder and make the relevant update. This could be anything from additional questions to amending a section title
- Then, when you save and publish, you will receive a popup to say ‘Do you wish to update all unstarted audits to use this new template version?’
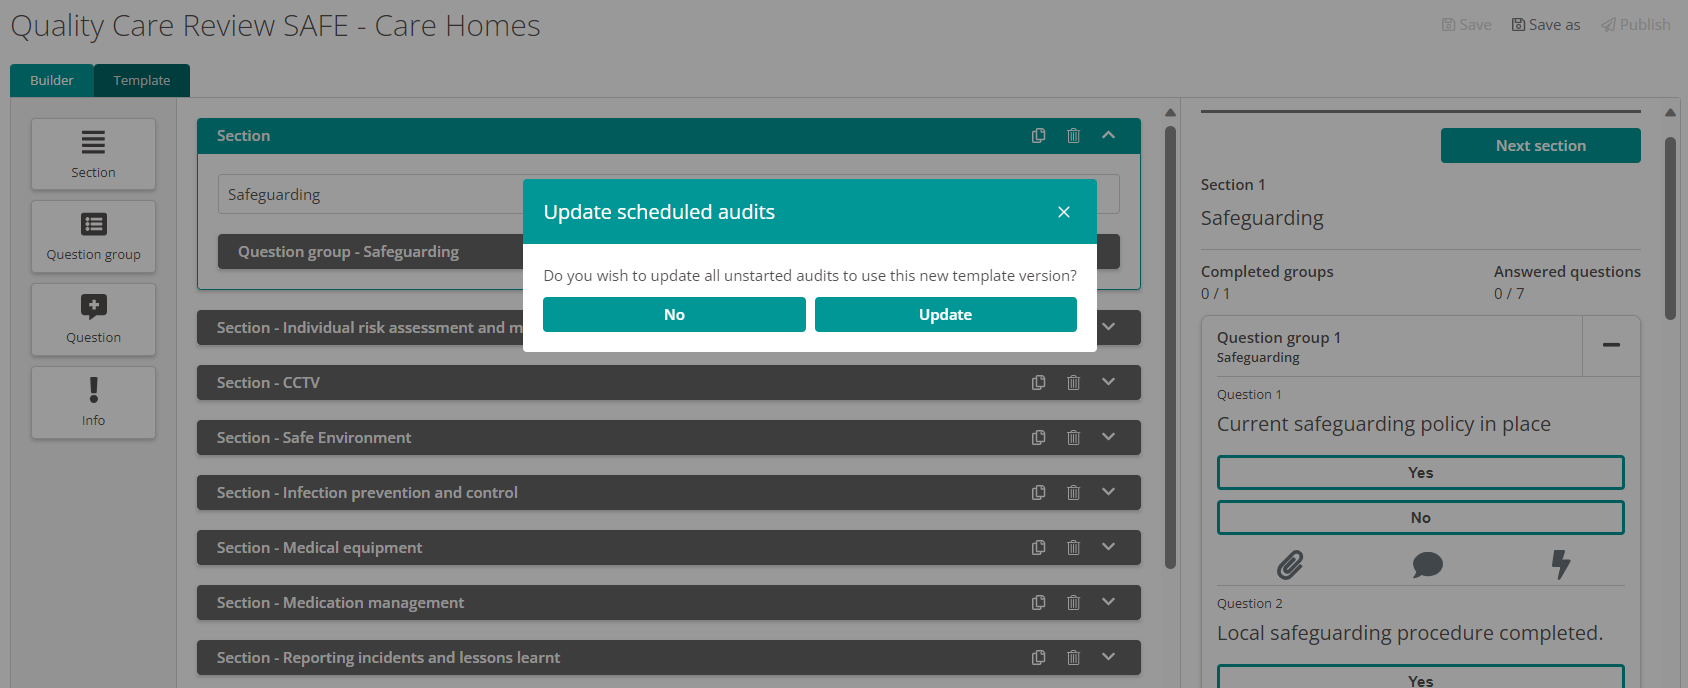
- Clicking ‘Update’ will then update those audits with the changes you have just made.
- Please note that you cannot update any audits that area already in progress
Transferring Audits Between Sites
- This section has now been moved into its own user guide available here.
FAQs
How many questions can I ask in an audit?
- There is no limit to the number of questions you can add to the audit.
What happens to existing scheduled audits when changes are made to the audit builder templates?
-
Then, when you save and publish, you will receive a popup to say ‘Do you wish to update all unstarted audits to use this new template version?’ Clicking ‘Update’ will then update those audits with the changes you have just made. Please note that you cannot update any audits that area already in progress