
Creating a Consent Form in Version 8 – What's Changed?
If you're an existing Digital Consent user, this guide highlights the changes to the consent form creation process.
Version 8 brings changes to the way consent forms are created, to allow consent for any medical procedure. To enable this feature, we had to re-build the consent form create process to separate it from the EIDO Library and introduce a new database of procedure names.
We’ve also introduced some time-saving features to speed everything up, with a net benefit of quicker creation and more procedures. Win win!
Step 1: Select Procedures
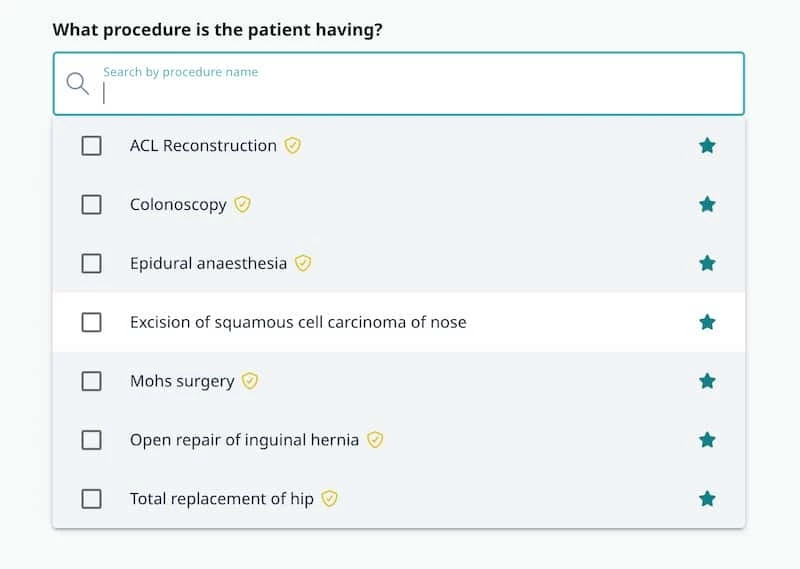
The first step is to select the procedures for the consent form.
In previous versions, you could only select procedures that had a linked EIDO patient information article. You can now add any procedure to a consent form, regardless of whether EIDO information is available.
Procedure data is sourced from UK SNOMED CT, so some procedure names may look different from those used previously.
Use the search box to find and select the procedures you need.
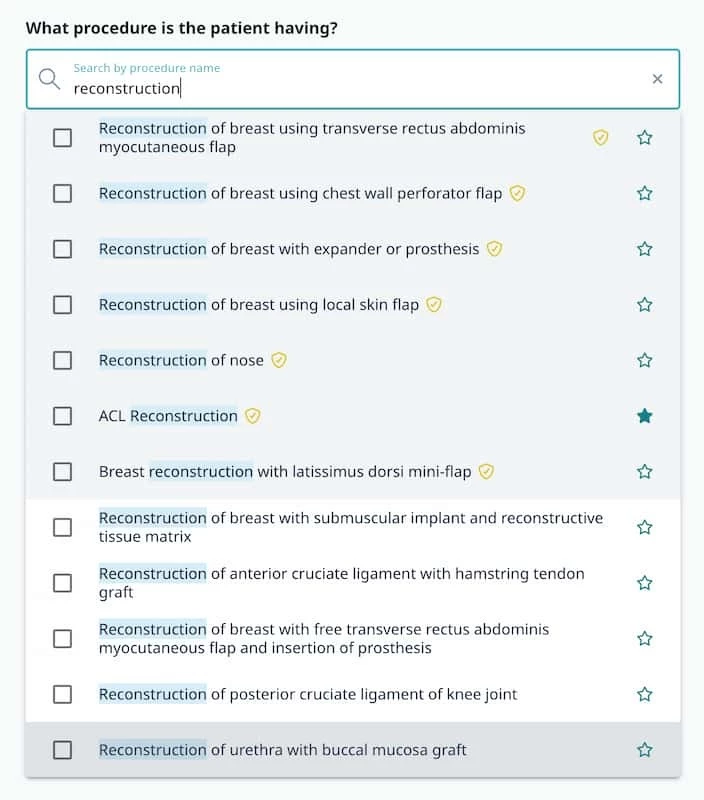
Favourites
To make frequently used procedures easier to find, click the star icon next to a procedure to add it to your favourites.
When you open the procedure search, your favourites are displayed first.
Extra Procedures
Adding an Extra Procedure is now an optional action available from this screen, rather than a separate step in the process.
Use this option to add minor additional procedures, such as a biopsy or polyp removal.
Step 2: Confirm Consent Information
The second step is to confirm the consent information for the selected procedures, including:
- Benefits
- Risks
- Alternatives
If a procedure has linked EIDO content, the relevant information is automatically selected.
For procedures without EIDO content, specialty-specific BRAN content is available. Select the benefits, risks, and alternatives that are relevant to the patient and procedure.
Not every item will apply in every case, and you can easily add your own content where needed.

Step 3: Add Patient Information
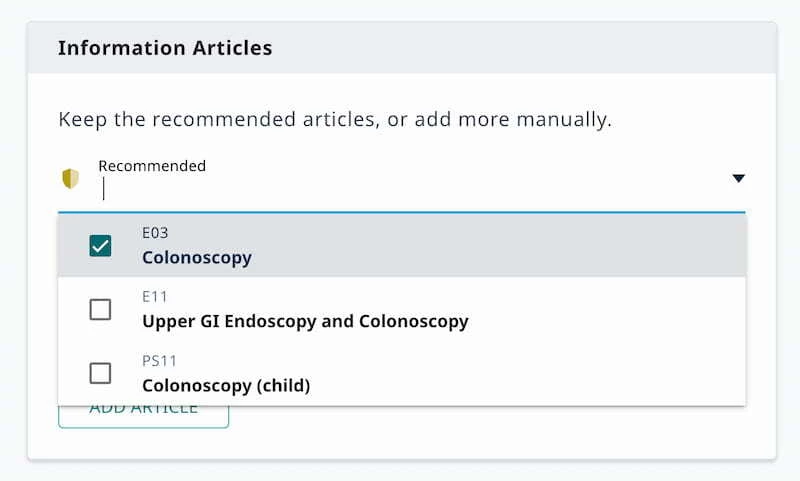
The third step is to select the patient information to send alongside the consent form.
Any linked EIDO patient information articles are automatically selected.
You can also add additional content, including:
- Anaesthetic information
- Child-specific patient information
- Additional EIDO articles
There is no limit to the number of EIDO articles you can include.
Adding Local Information
If you have local patient information in PDF format, you can add it by:
- Dragging and dropping the file into the upload area, or
- Selecting it from your file browser
You can also add links to:
- Online resources
- Procedure-specific information
- Hospital attendance guidance
- Directions and travel information
- Recovery and aftercare information
Step 4: Review and Send
Your consent form is now ready to send. The summary screen includes several new features.
Automatic Consent Form Selection
The appropriate adult or child consent form is automatically selected based on the patient's age.
You can change this at any time using the consent form selection menu.
Responsible Clinician
The Responsible Clinician is automatically set to the current user, provided they are registered as a clinician.
Procedure Names
Consent forms now display both:
- The full clinical procedure name
- Common procedure name - a patient friendly term that you can amend as required.
Key Benefit
A new Key Benefit field allows you to record the primary reason for the procedure.
Where available, this field is pre-populated by the EIDO editorial team. It remains fully editable and can be customised for individual patients.
Consent Form Preview
You can now view the PDF consent form directly from the summary screen.
This allows you to:
- Preview the completed form
- Review it with the patient
- Download it for pen-and-ink signatures if required
Send to the Patient
When you're ready, select Start Consent or Send to Patient to begin the consent process.
Need Help?
For further guidance, visit the Community help centre: